Oslo Craft Bag; Free Pattern by Sew Sweetness
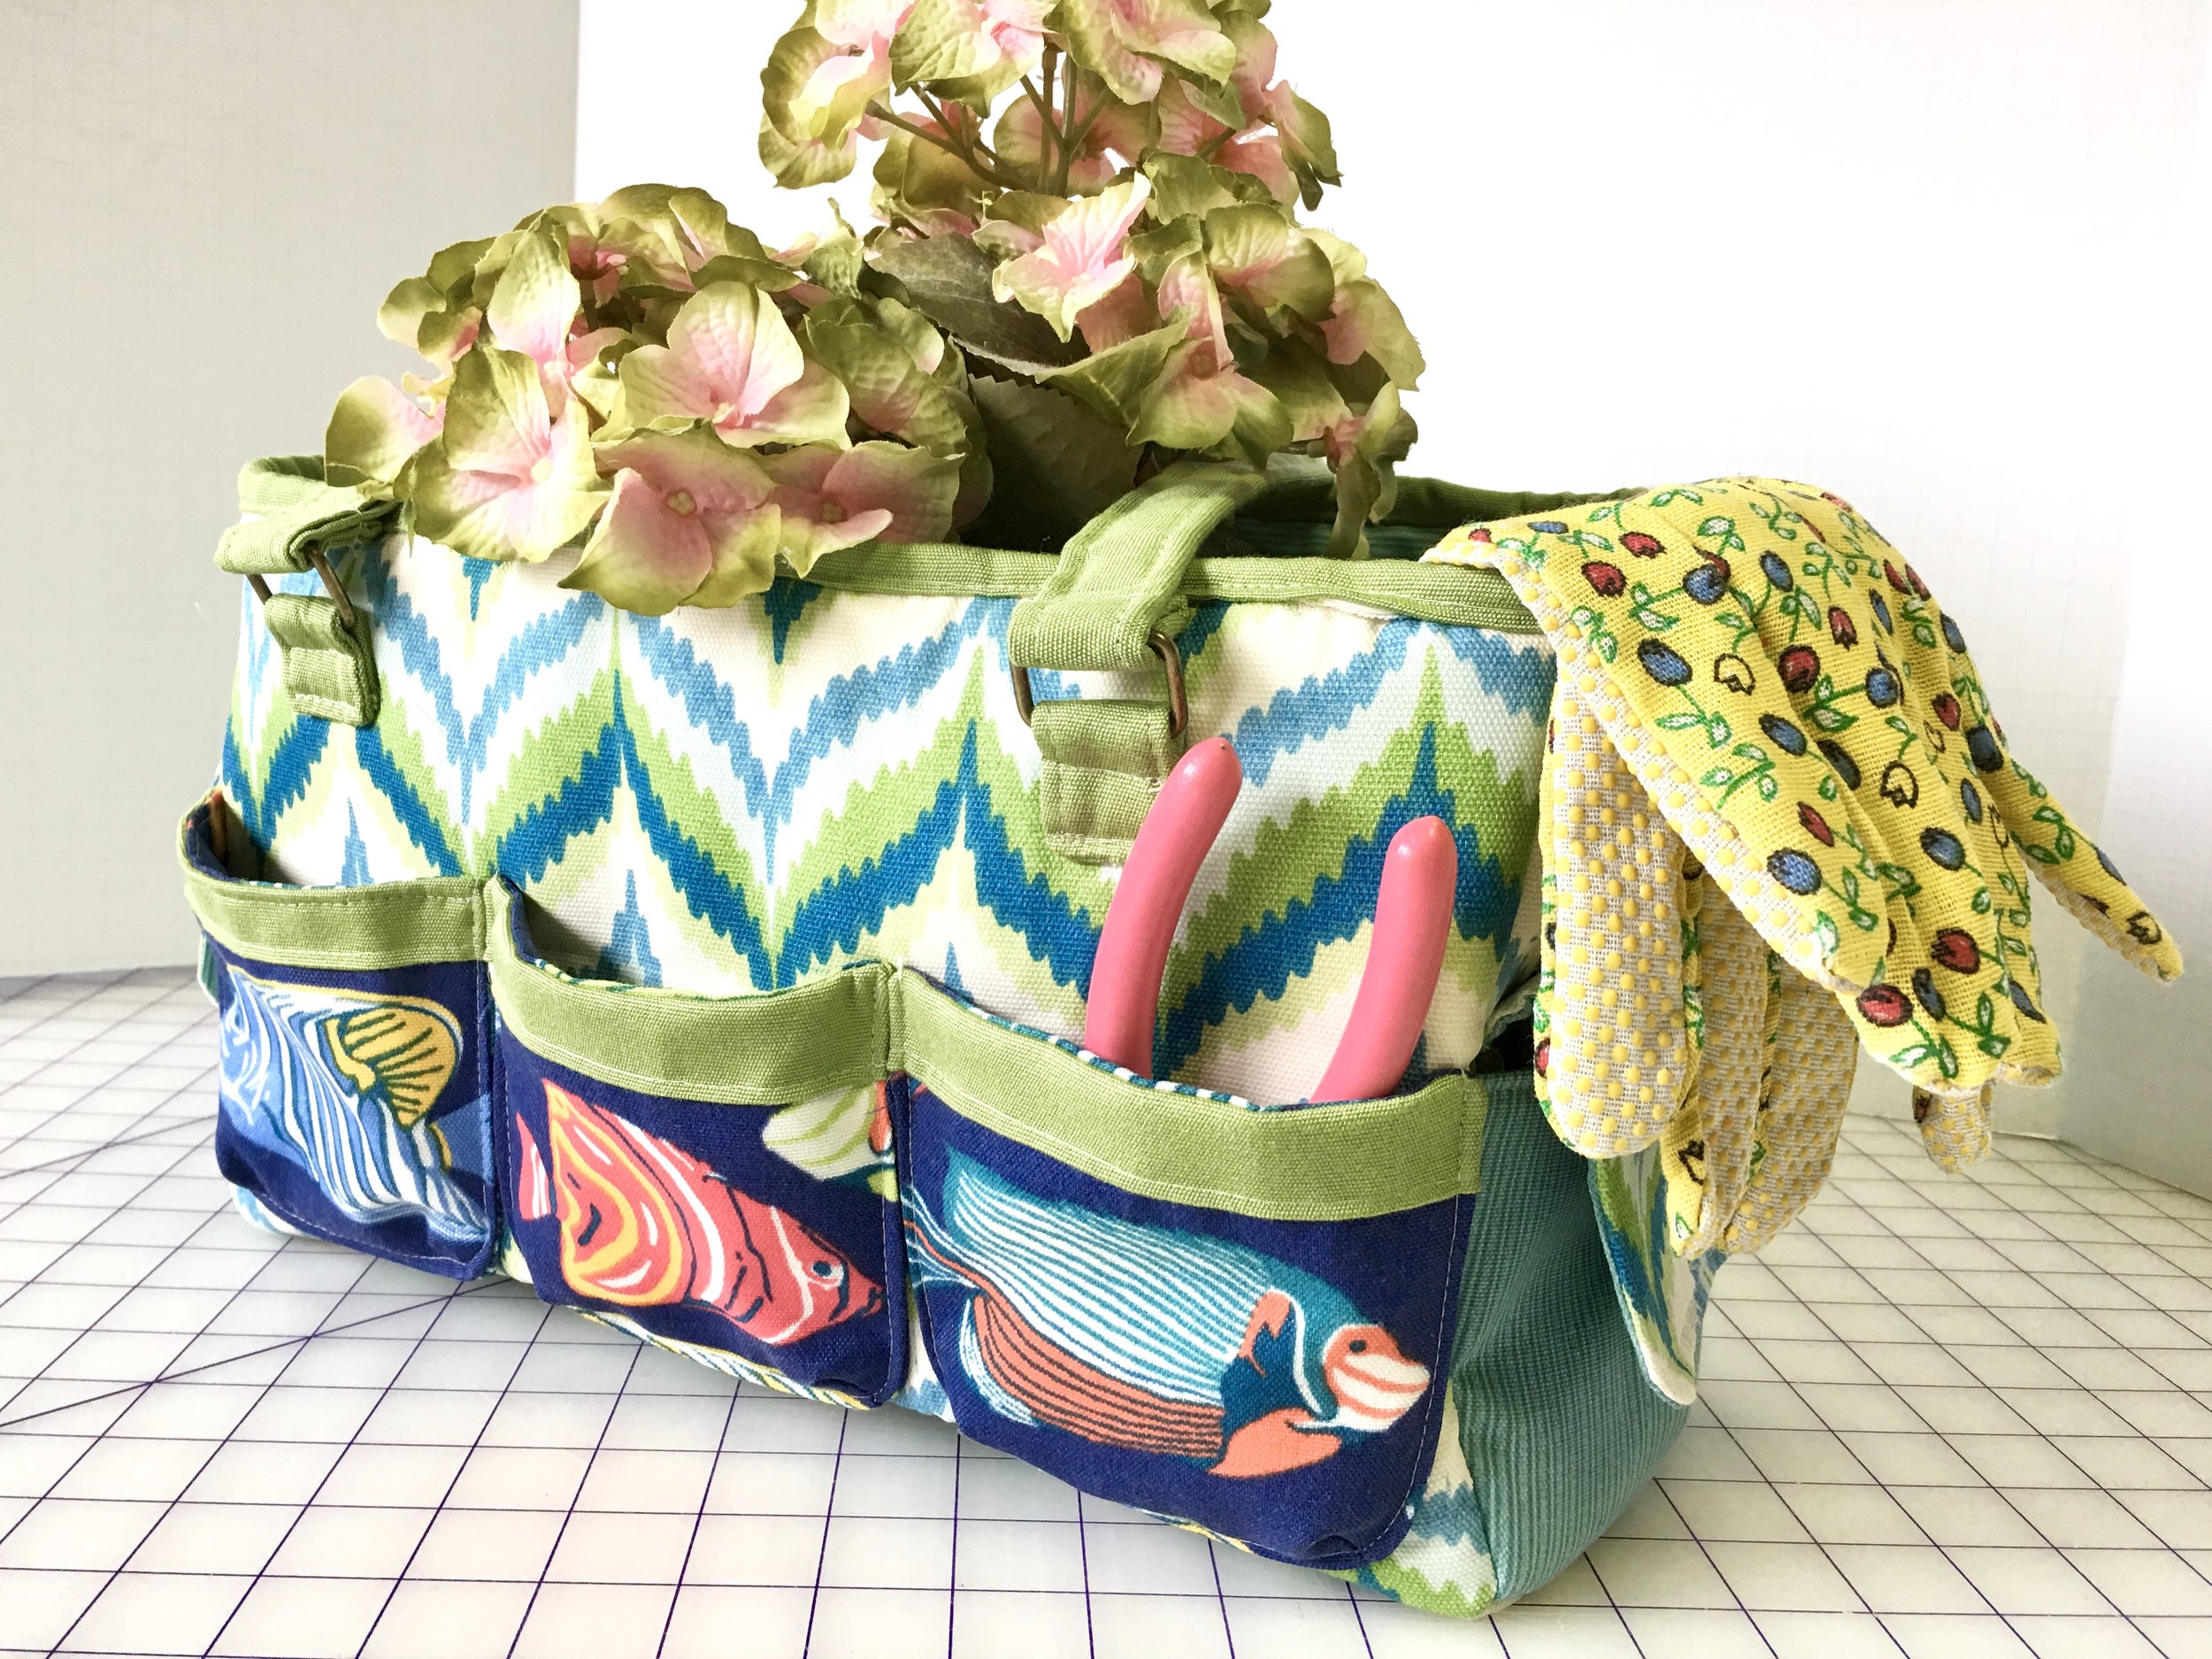
I have been a huge fan of Sara Lawson of Sew Sweetness for quite a while now. Sara is a pattern designer of one of my favorite things…bags! This Oslo Craft bag is meant to be a “Craft” bag, made with quilting cotton fabrics, however, I immediately knew I wanted to make this bag into a garden bag. A garden bag totes hand tools, gloves, twine and other gardening notions.
A garden bag is also exposed to soil and water, which means quilting cotton is not going to work. You can use canvas duck, laminated fabric, vinyl etc. I chose to use outdoor fabric, which is essentially woven out of plastic, is mildew resistant and can be rinsed out with a garden hose if need be.
This Oslo bag is a free pattern when you sign up for Sew Sweetness email updates. I would say after making this bag - the sewing difficulty level is for a very confident beginner to intermediate. The outdoor fabric definitely upped the difficulty factor due to:
- Outdoor fabric is thick and unravels easily
- you can only use a very low heat iron - or it will melt!
- Difficult to manipulate - hard to crease for pocket pleats
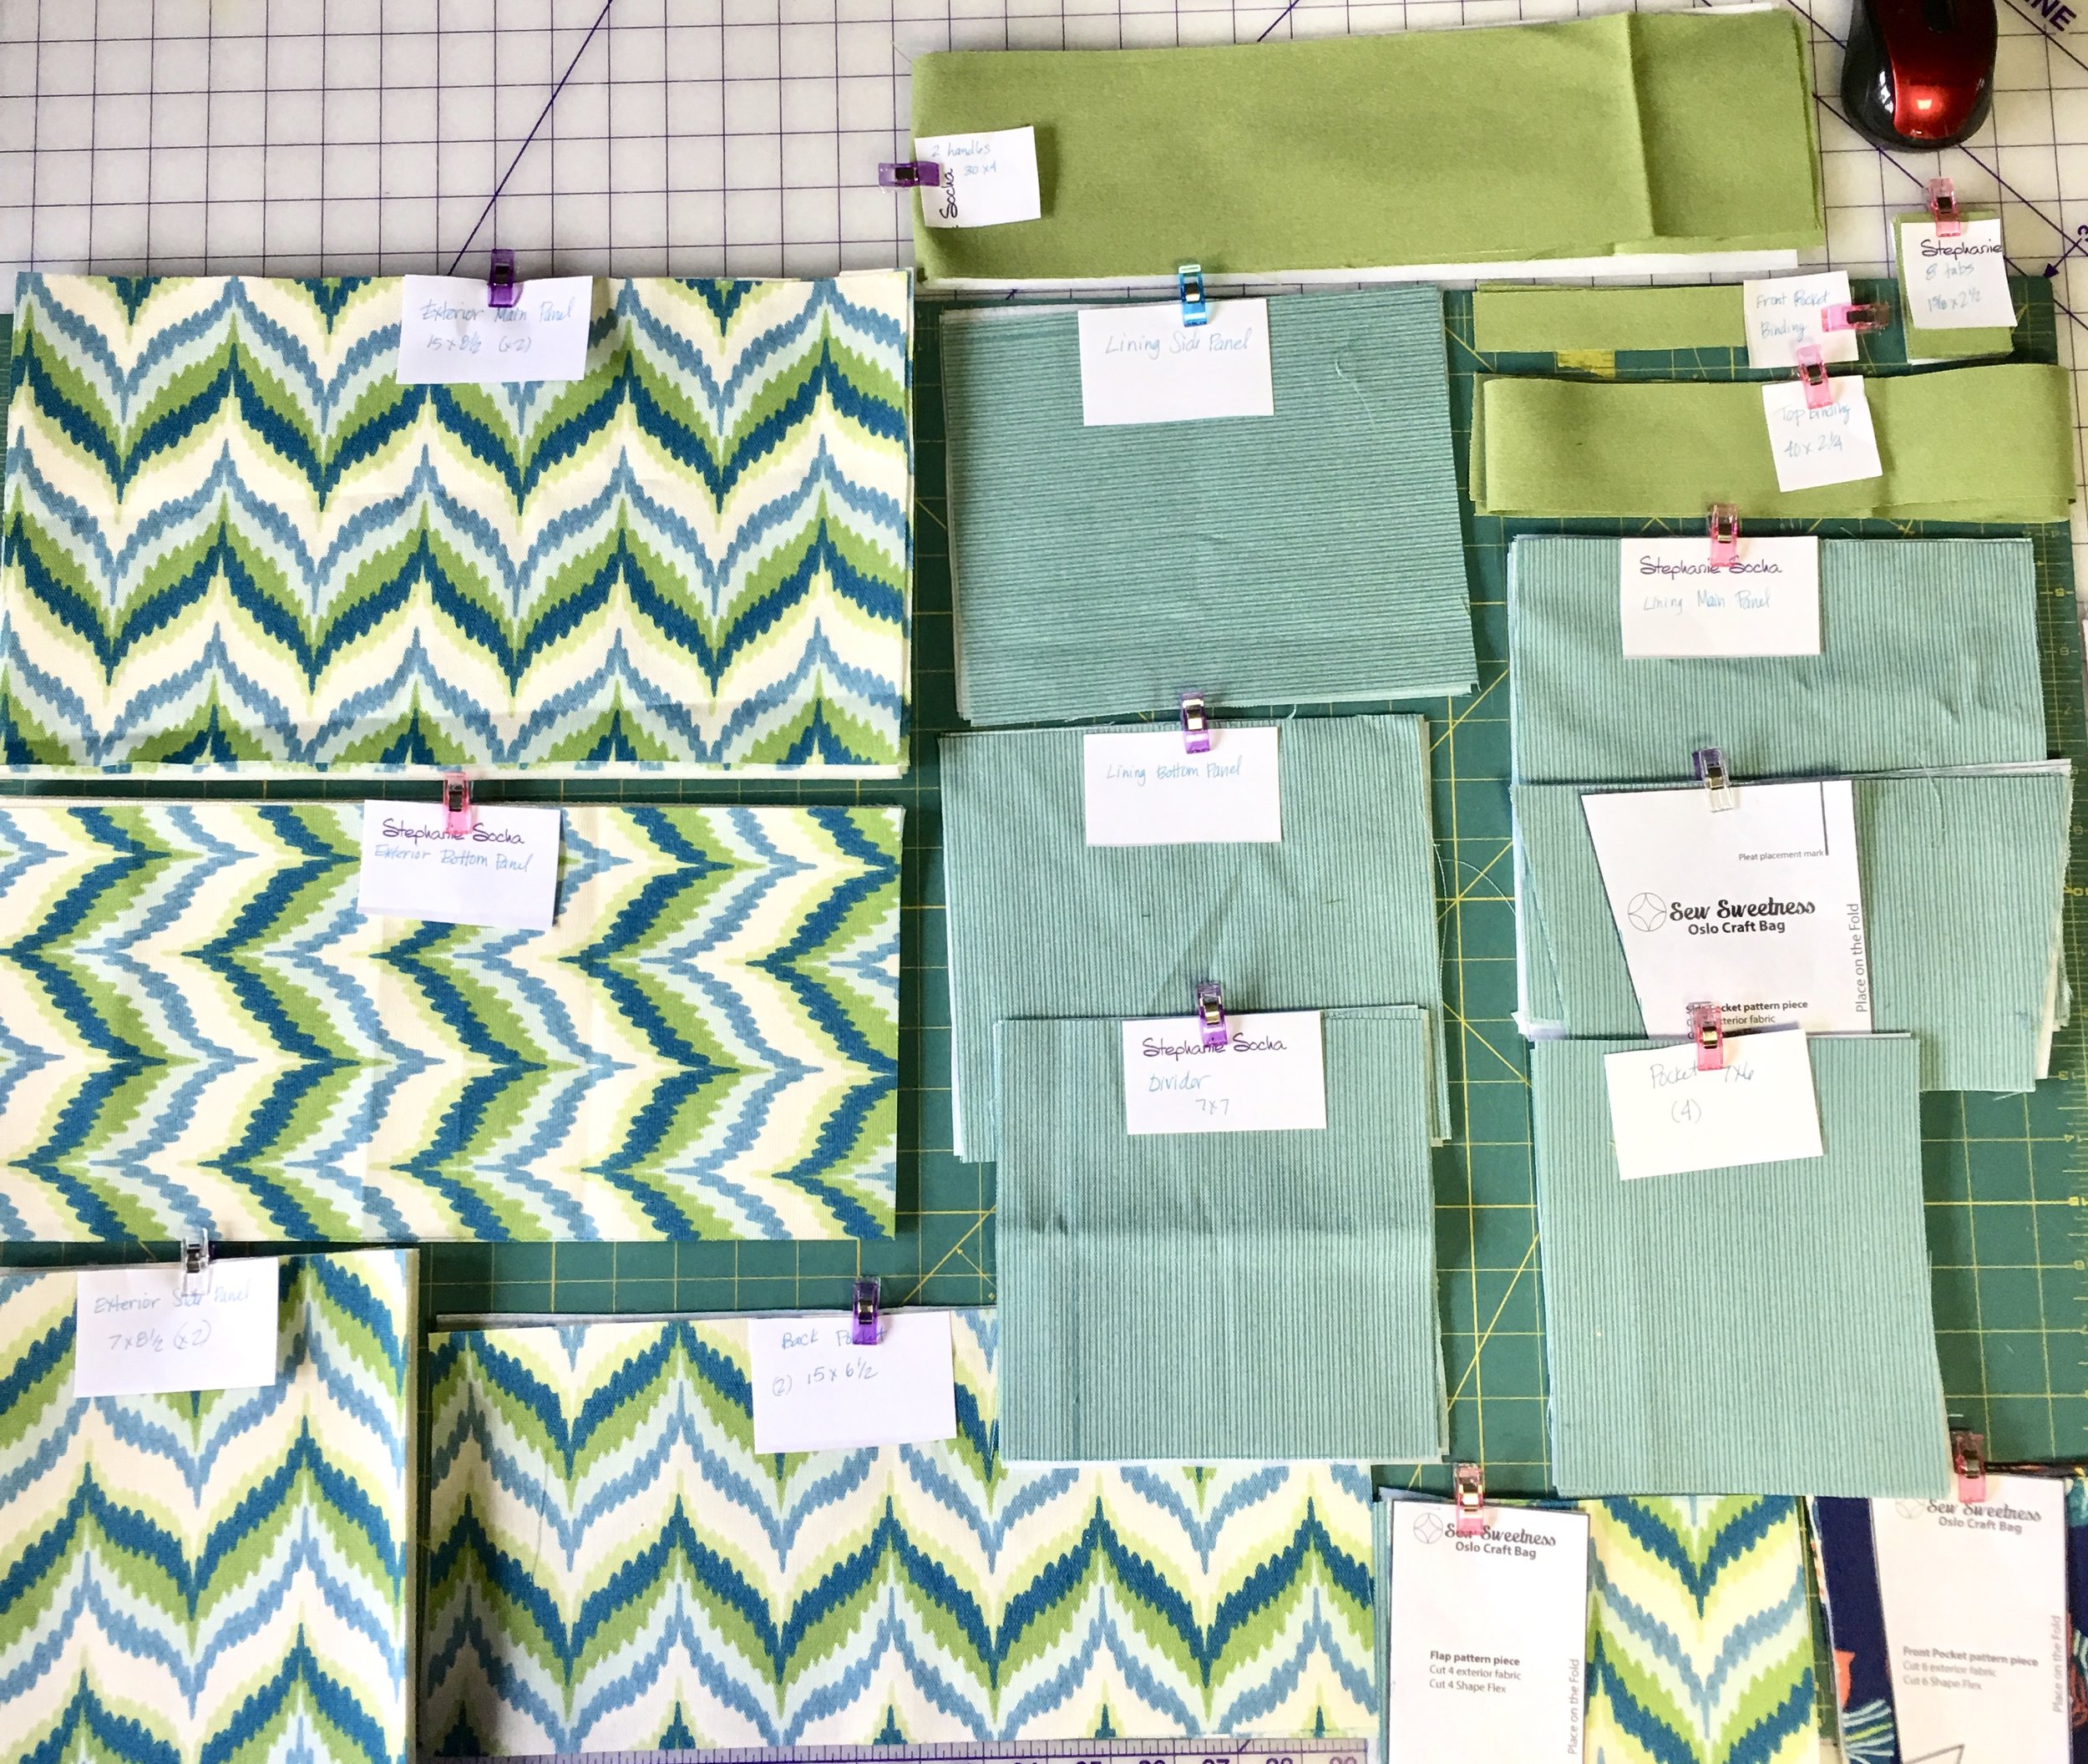
No matter what fabric you make this bag from, there are lots and lot of pieces, which means a lot of prep work cutting out all the pieces! Being organized is a must on this project. Label each piece/group of pieces with post-its or paper clipped onto pieces.
Being this organized makes the sewing of the project fun and fast.
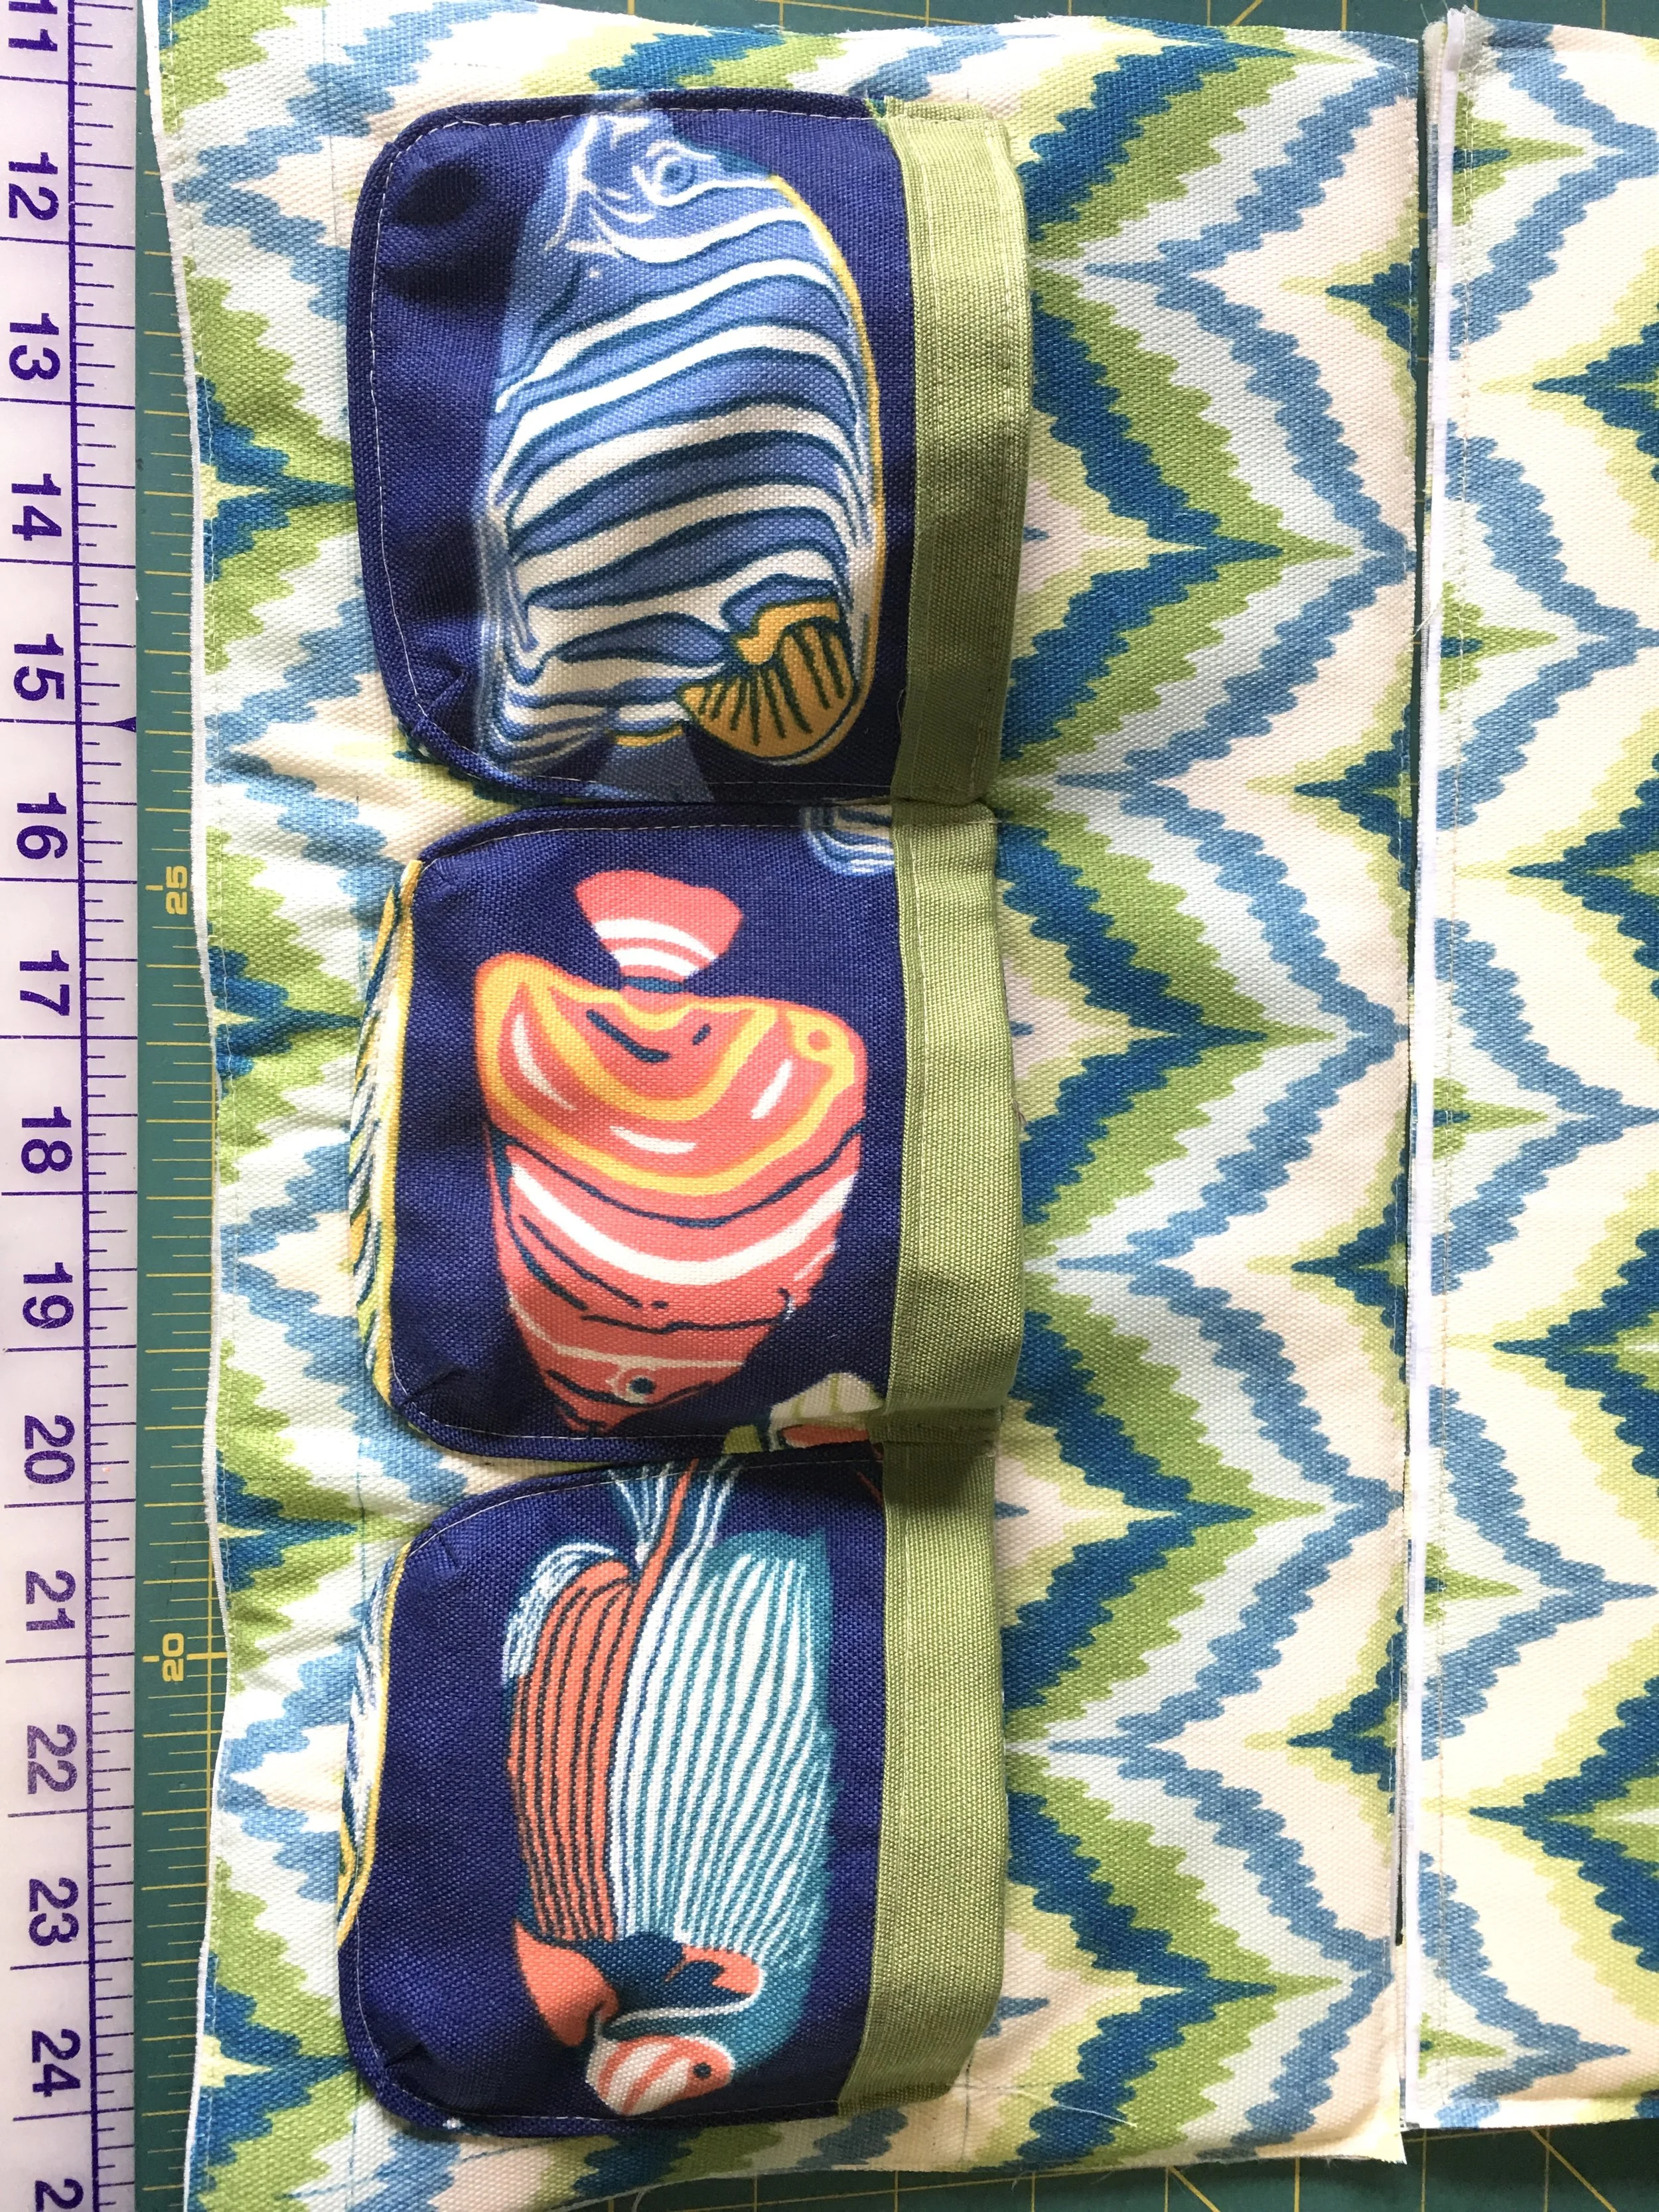
Pockets: The front pockets took a little more time as I fussy cut the fish fabric for each pocket, but attaching the pockets was pretty straightforward, provided you draw the guidelines to line them up.
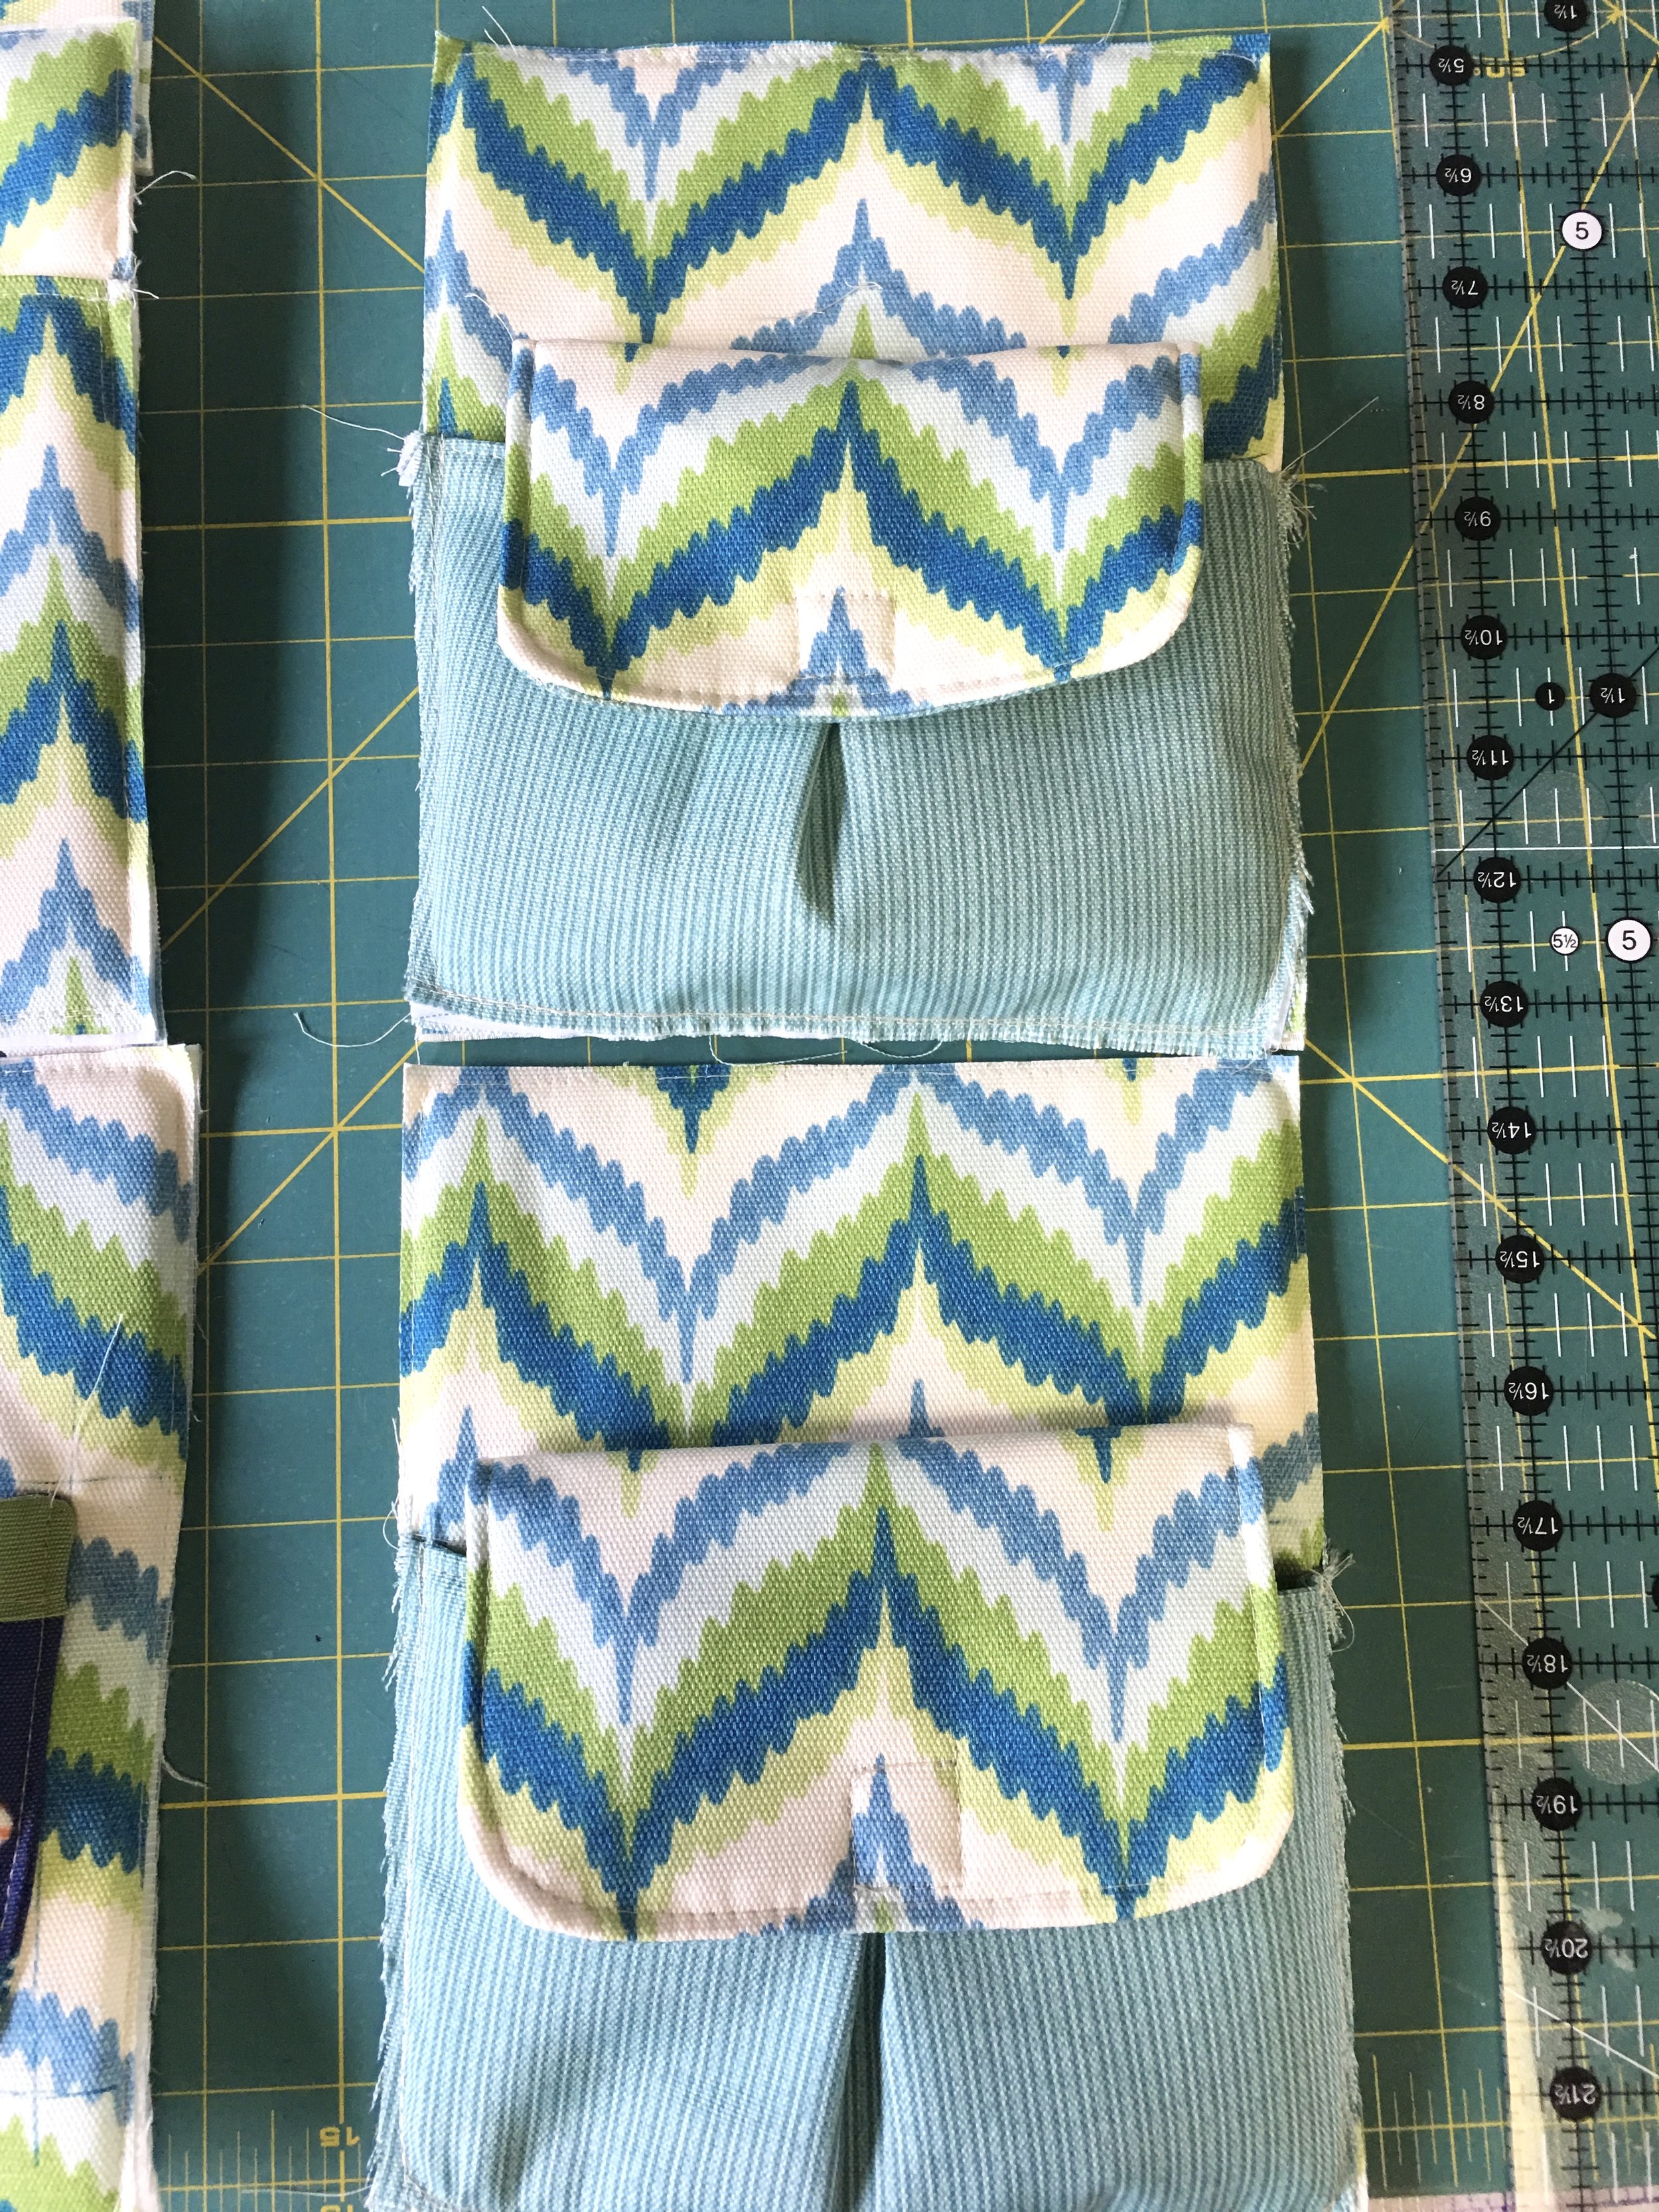
Side pockets were supposed to have snap enclosures, but the outdoor fabric was too thick, so I opted to sew in velcro and it worked like a charm!
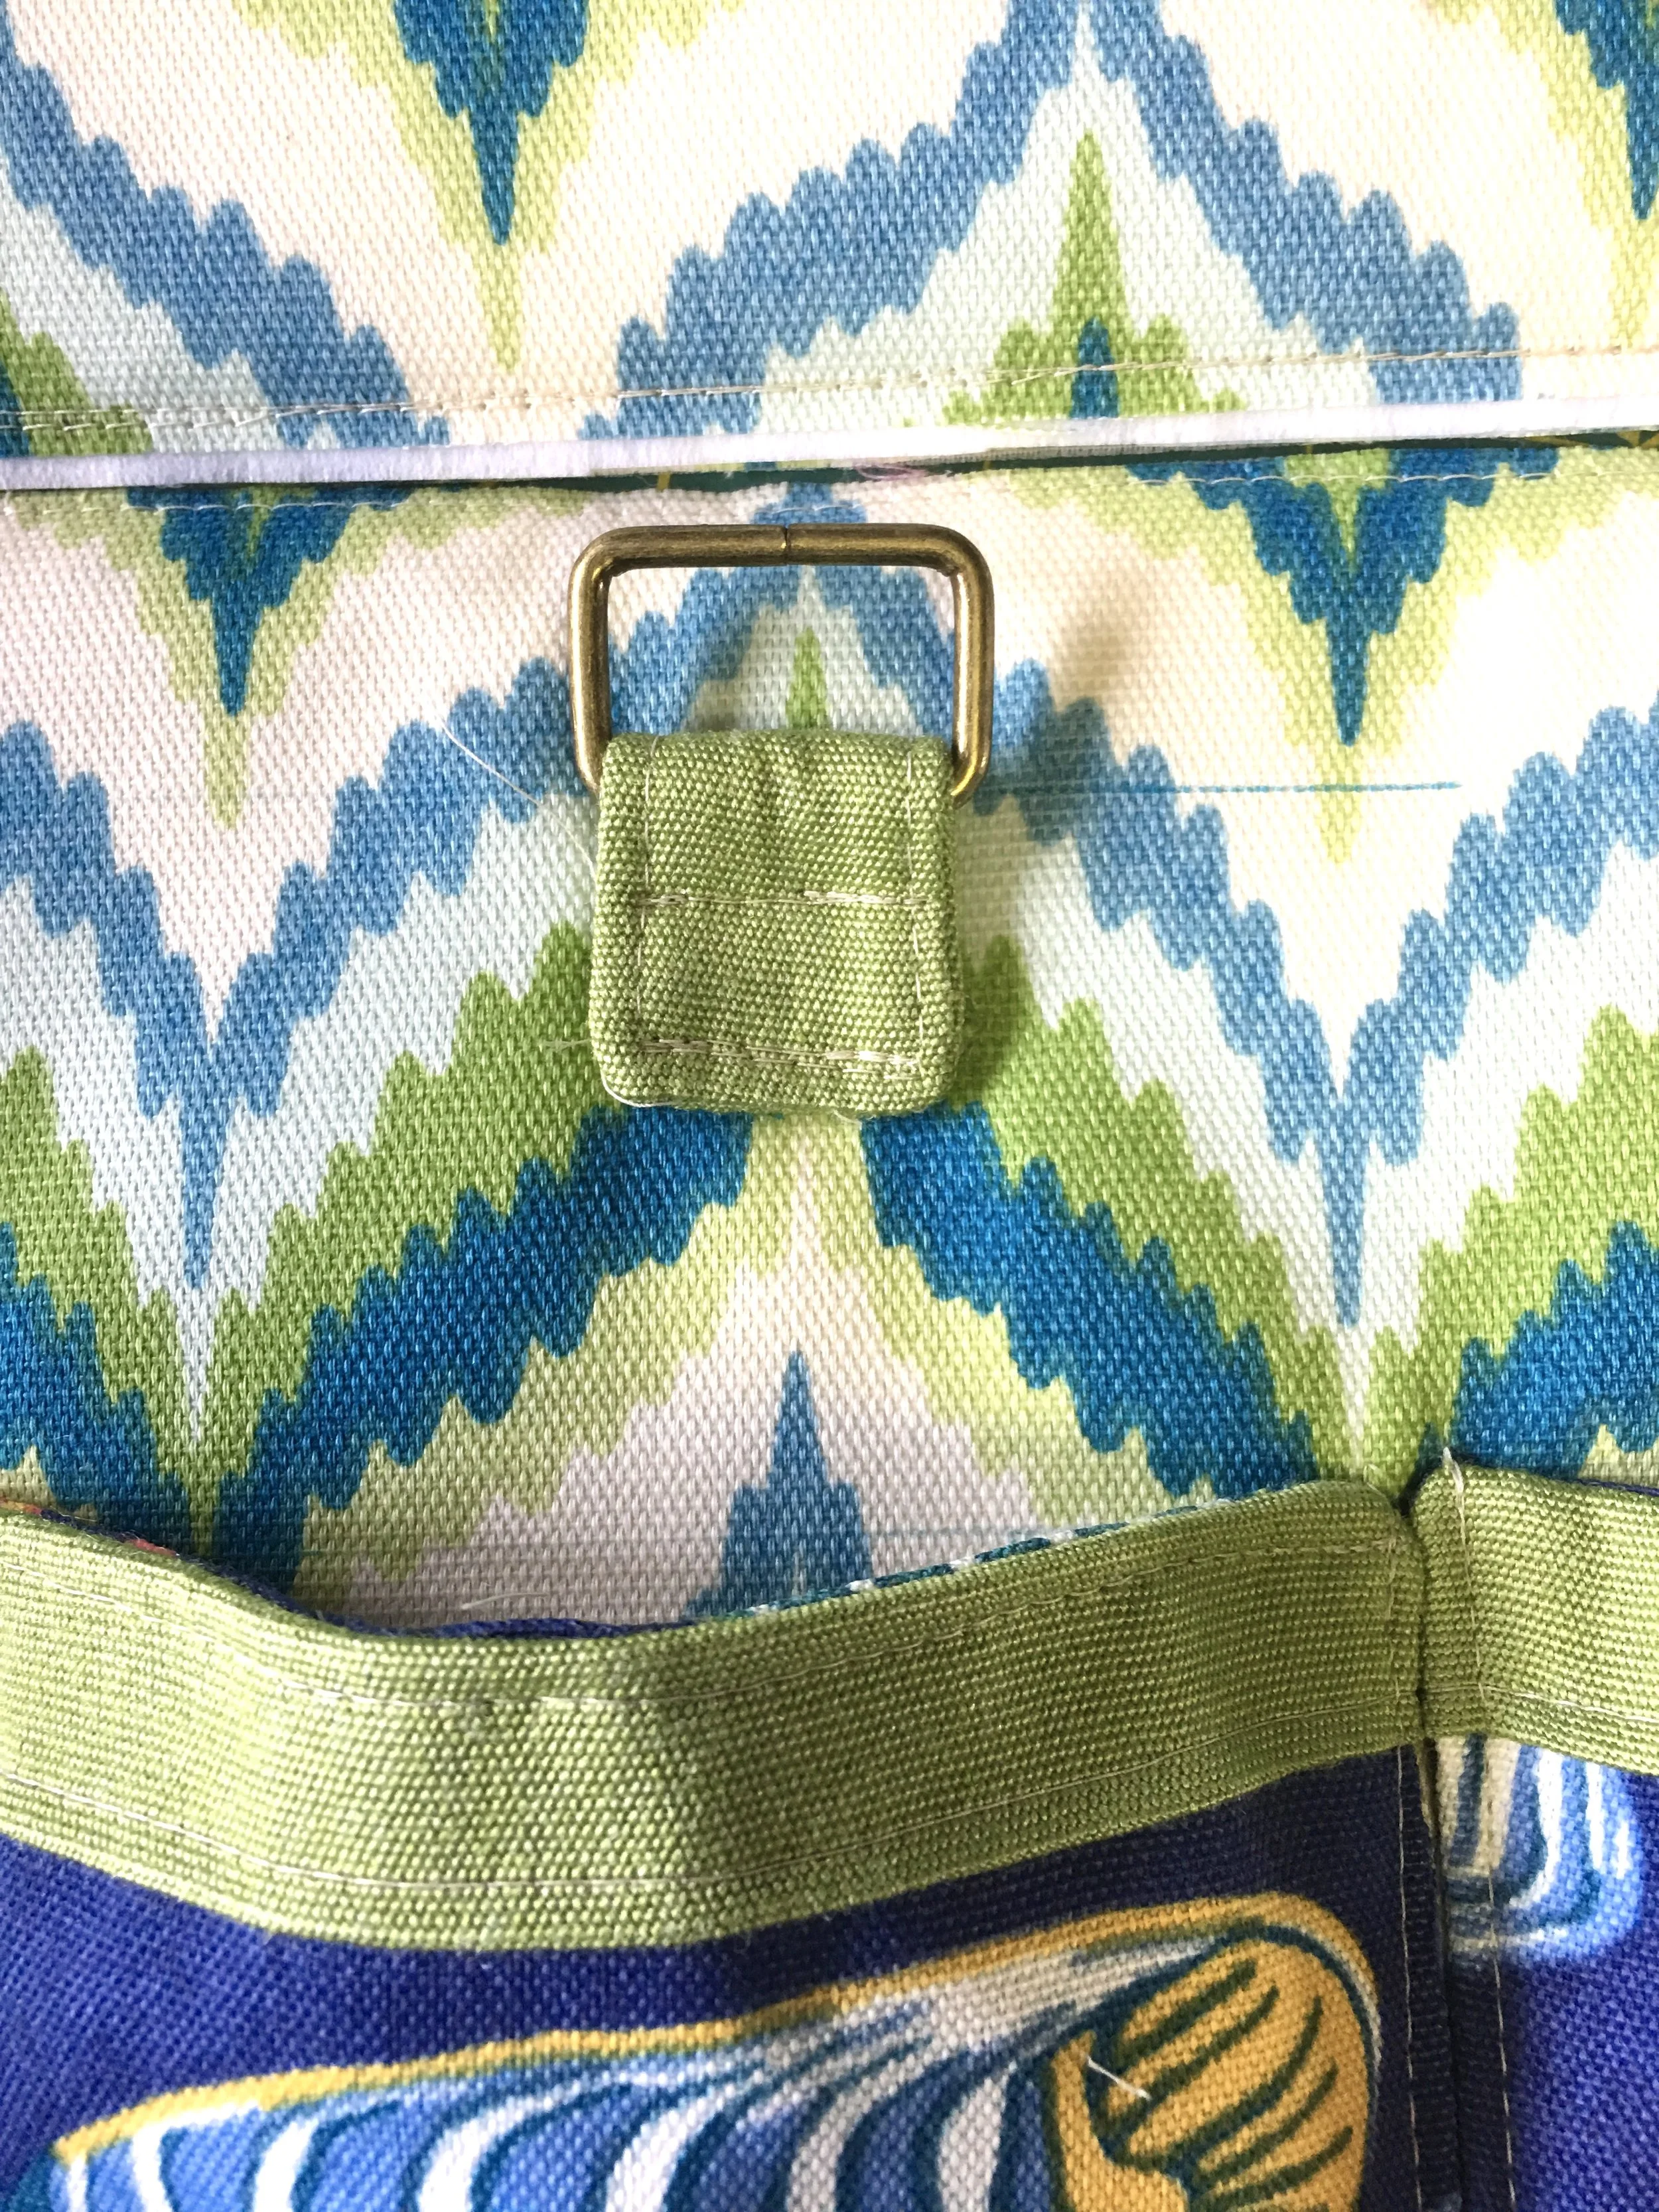
Hardware: I used metal rectangles to connect the handle straps to the bag. Very easy to sew the straps to the rectangles, just be sure to keep checking that the straps do not get twisted before they are sewn onto the rectangles.
You can also sew the straps directly onto the bag, but I like the flexibility that the metal rectangles give the handles.
Metal rectangle hardware for handles
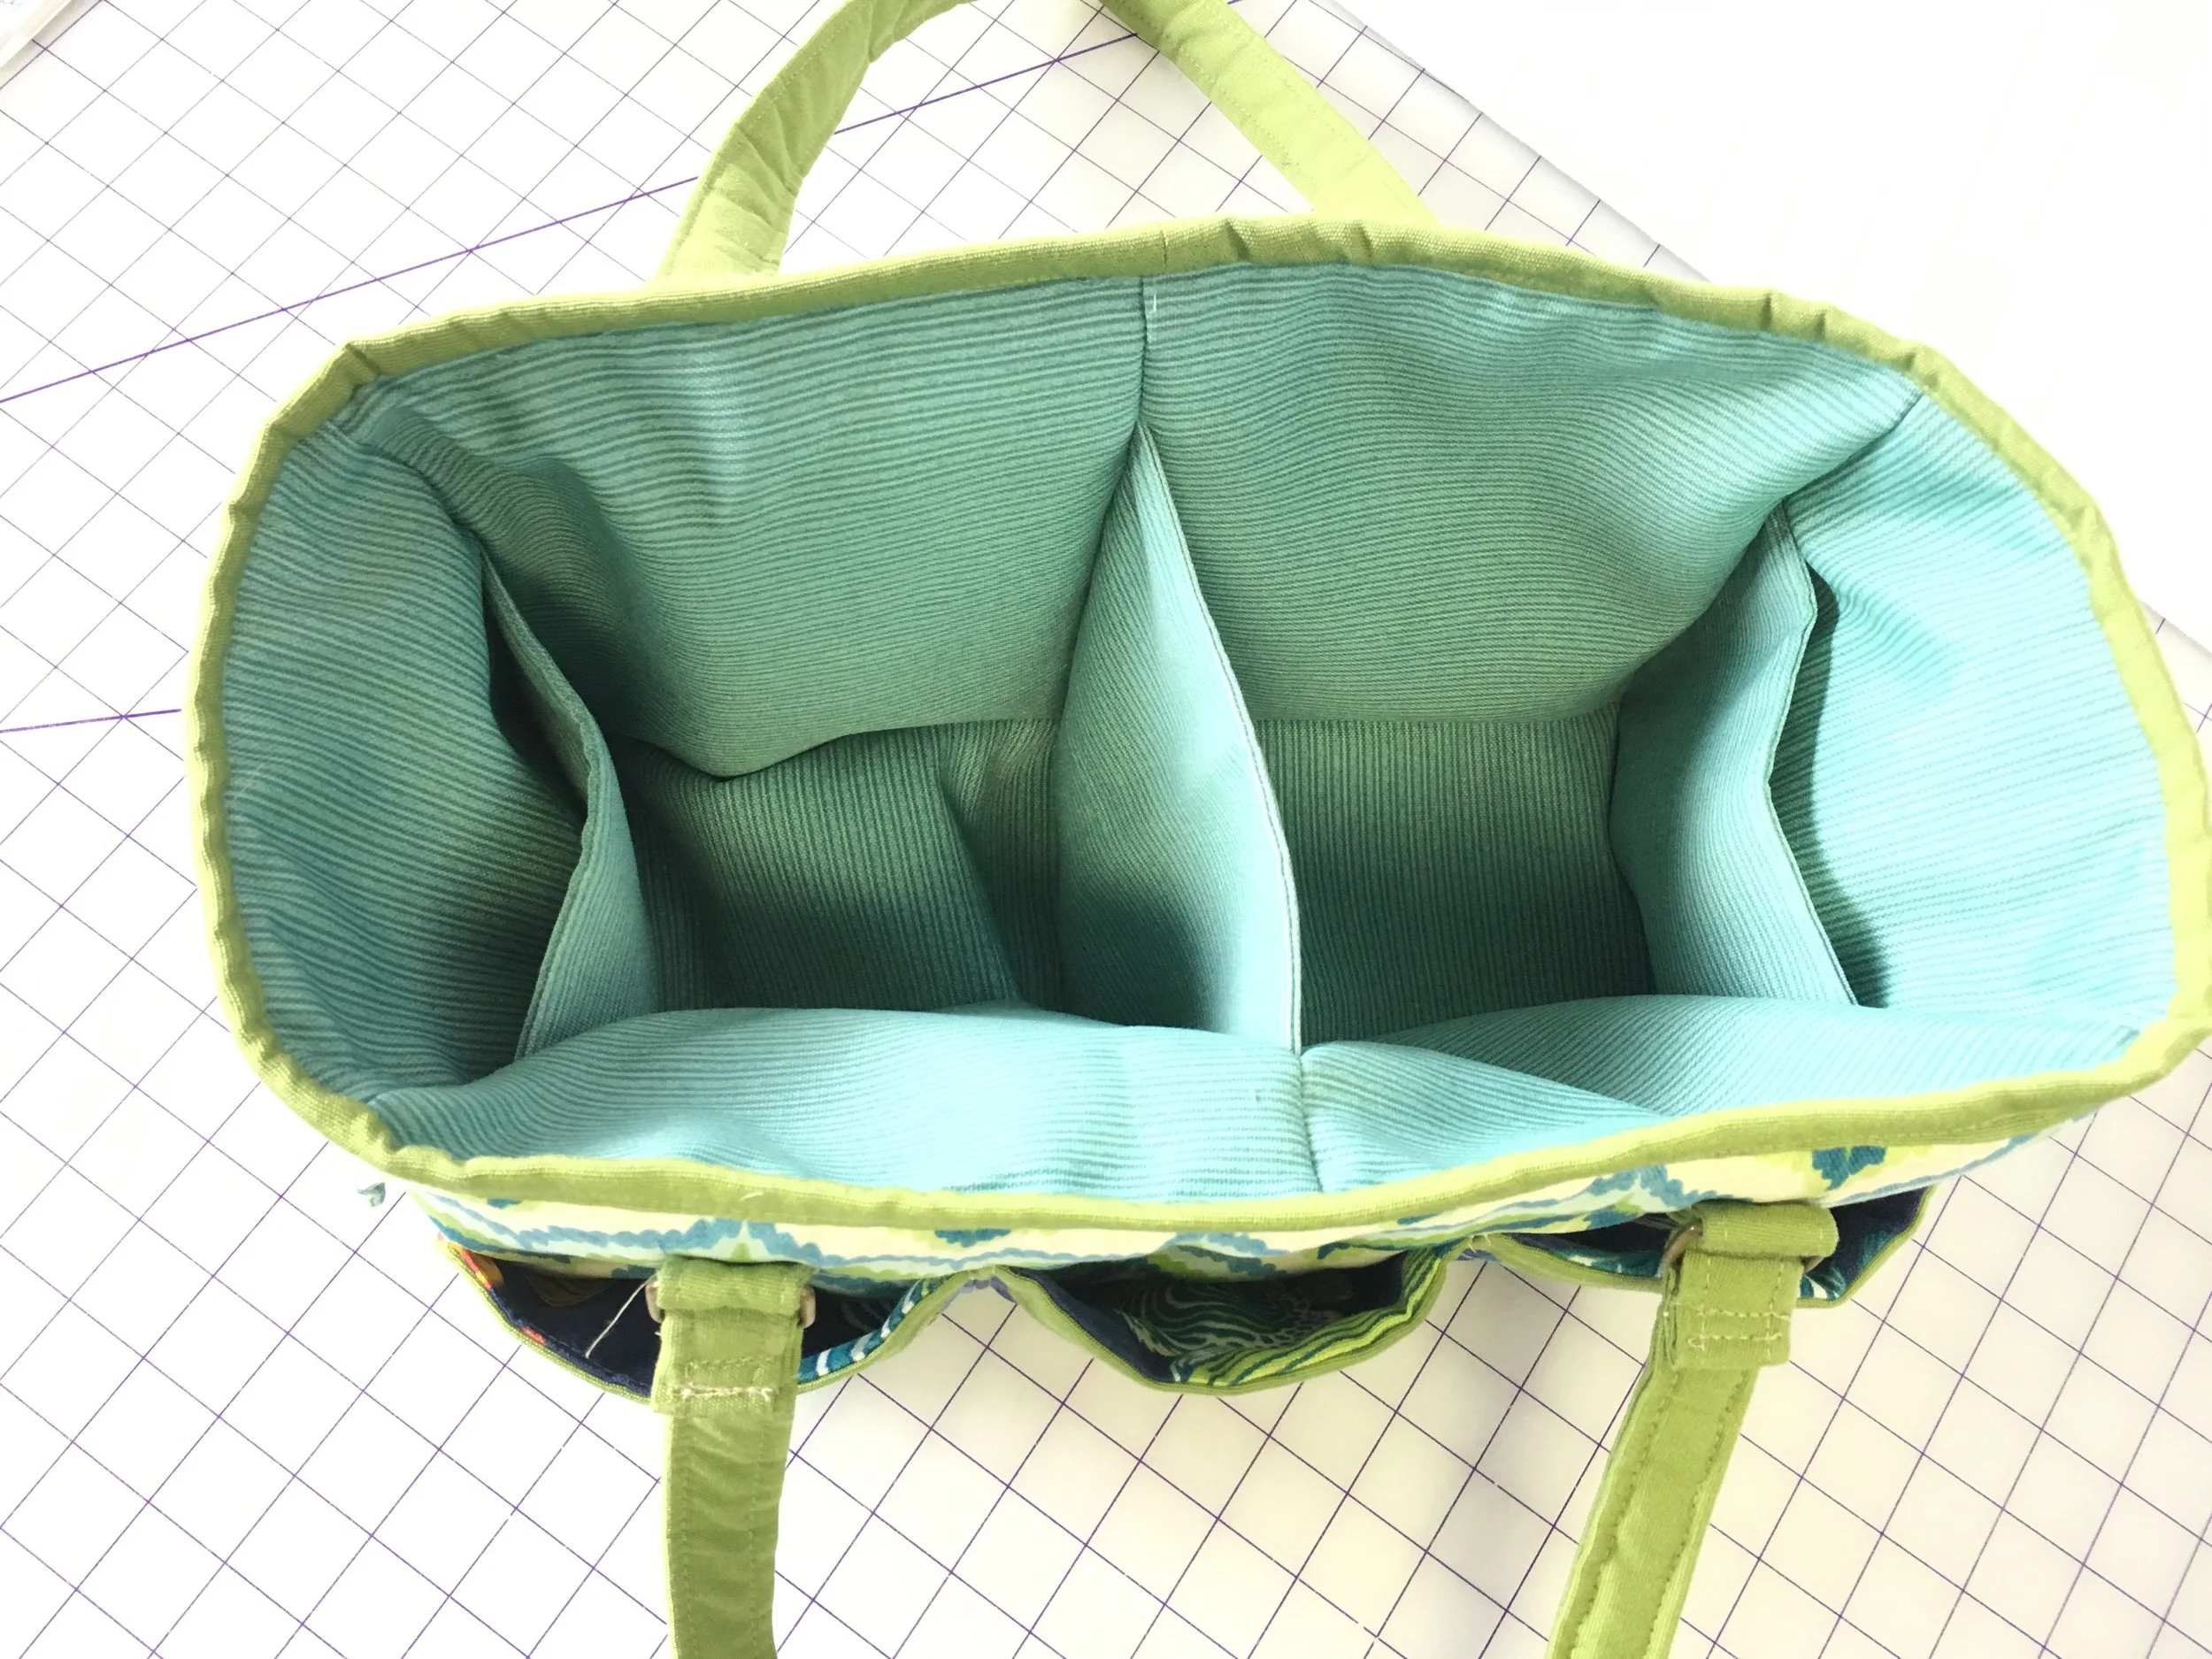
The bag finishes up with contrast binding around the top of the bag, which connects the lining to the exterior of the bag. It's a little weird to sew binding onto a 3D object, but it works out fine - just a little wrestling the bag to turn corners.
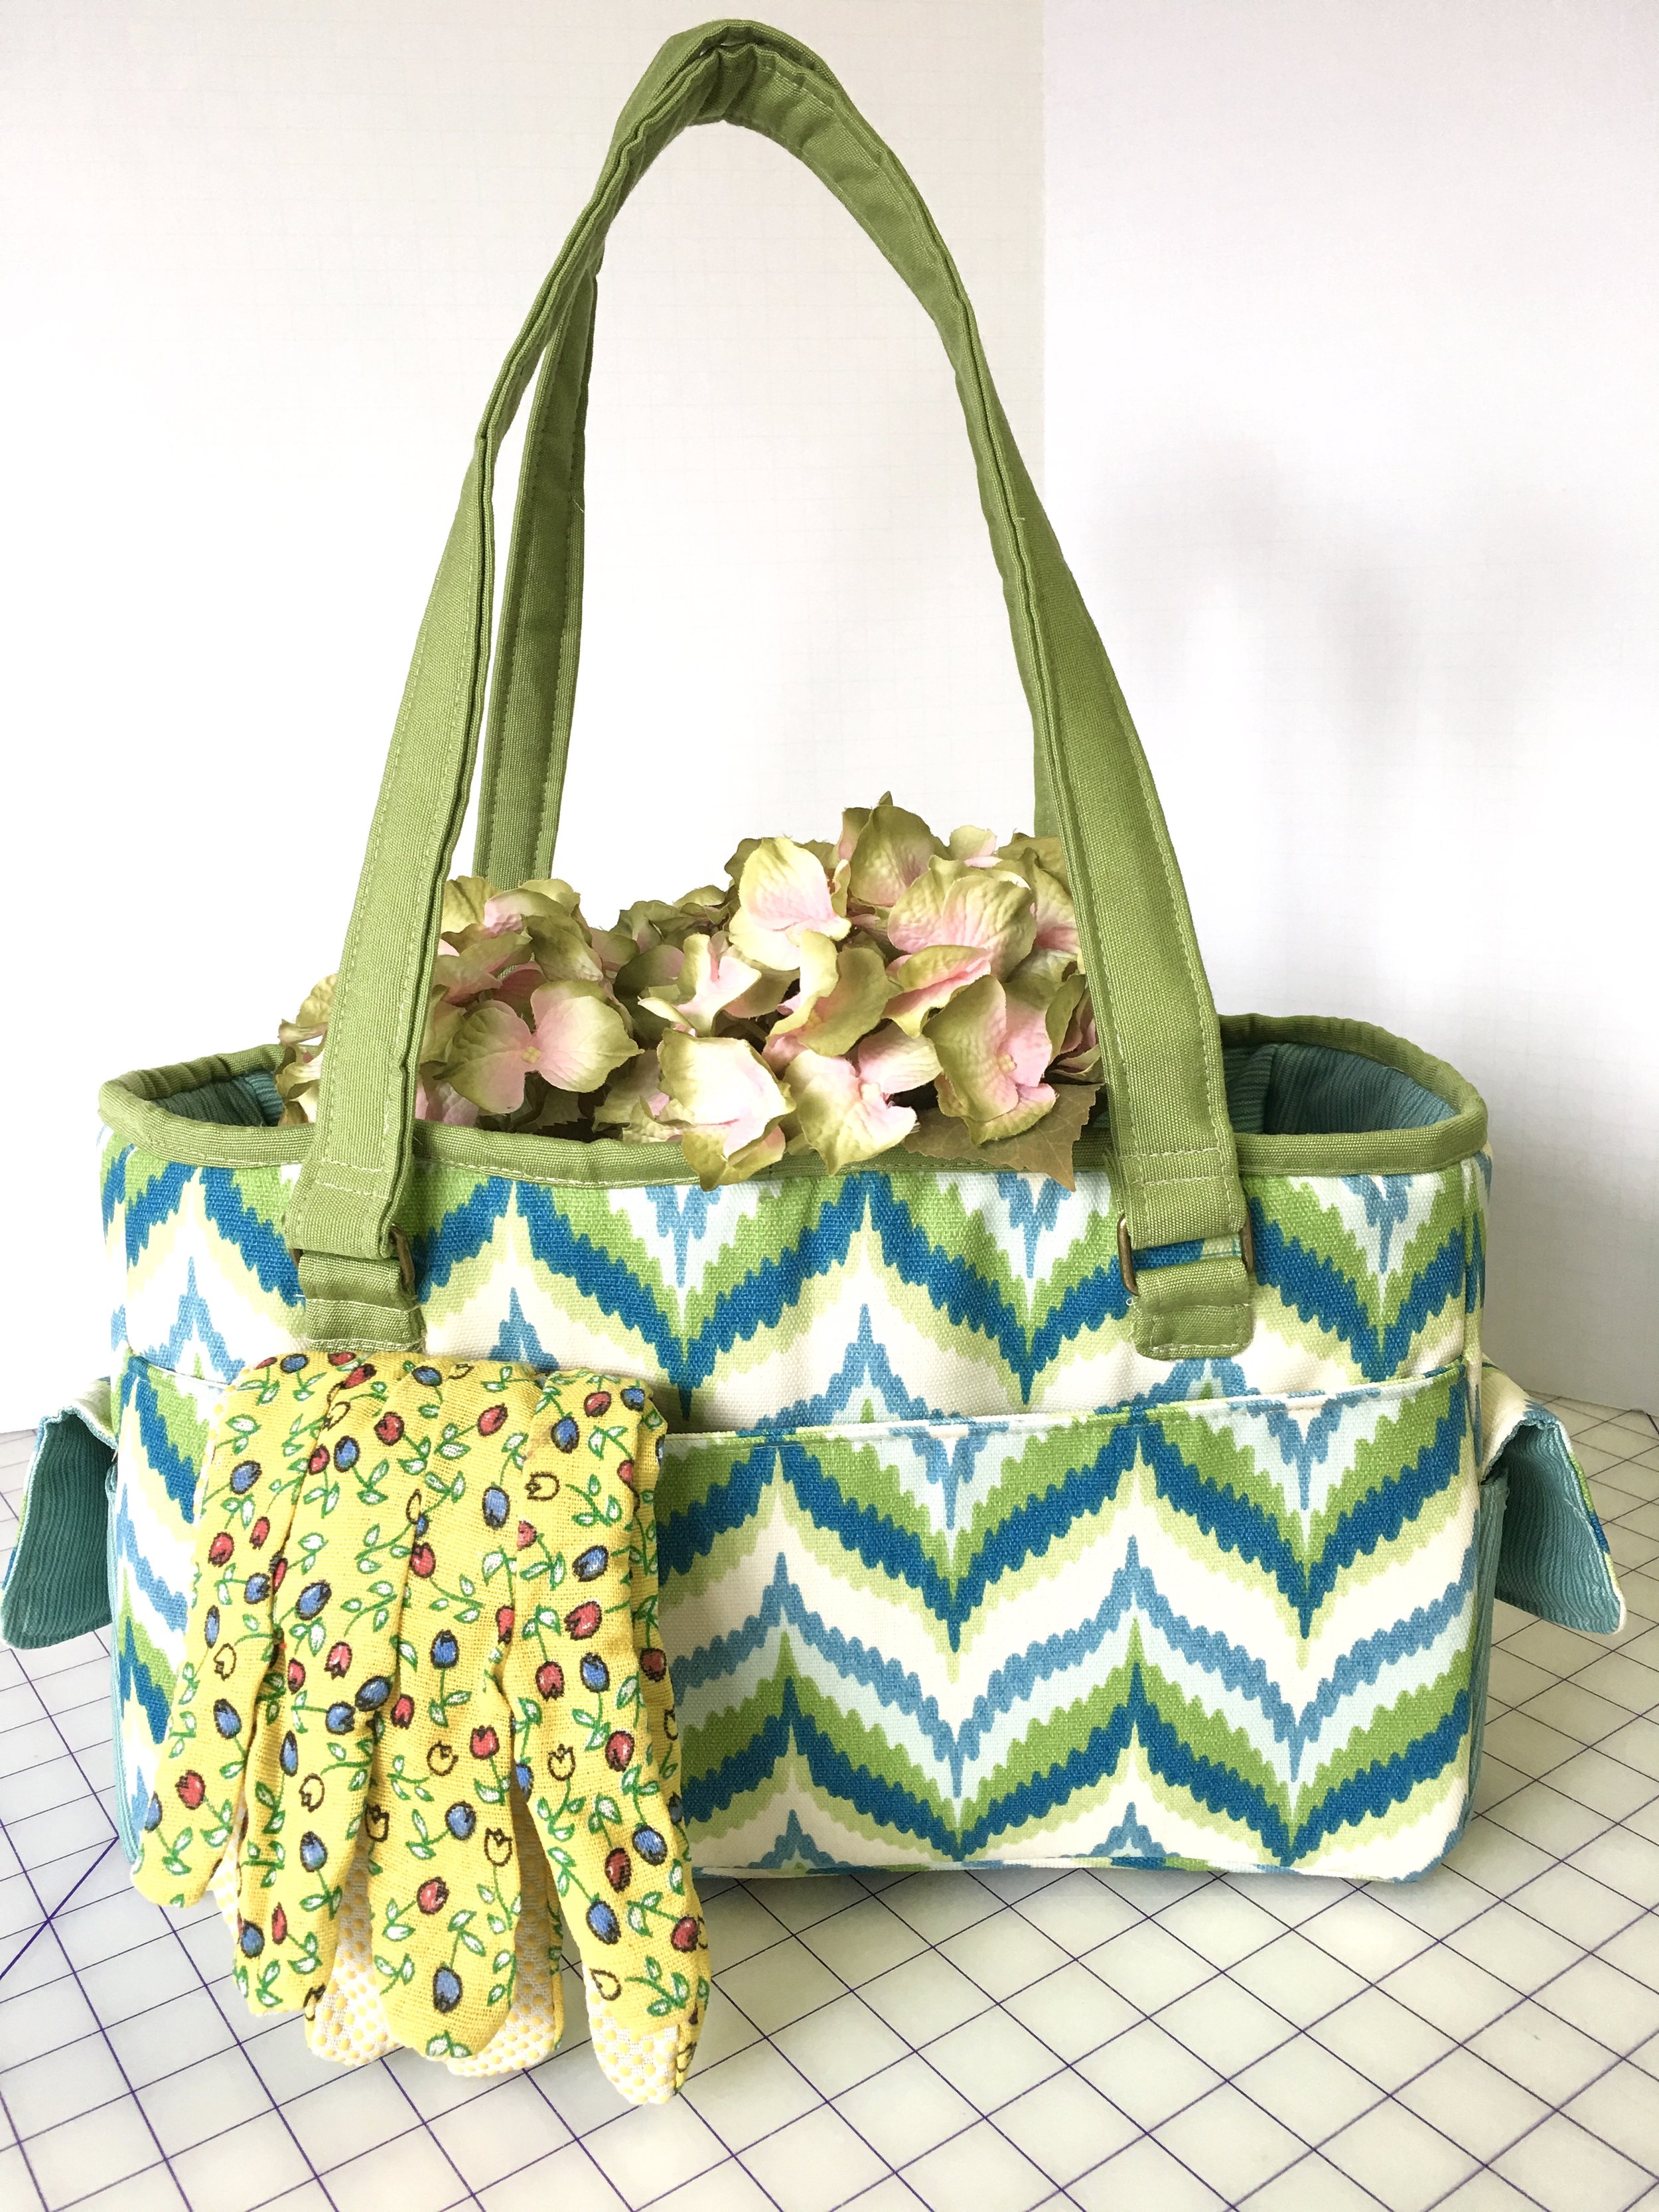
Here are a few more pics of my finished garden tote masterpiece!! whew!! Lots of pieces, lots of steps, but it all falls into place one step at a time.
One other thing to note: typical Sew Sweetness bag patterns usually use lots of stabilizers and foam. Yes, sometimes, I groan and whine when having to cut out and fuse the stabilizer and cut and baste the foam onto exterior pieces, but I also know these stabilizers and foam are what really makes these bags stand out as exceptional pieces of work!
Also, there is a great video workshop/tutorial Sara includes with the pattern. I found the video very helpful, evading potential meltdown moments for sure!
I love how this bag turned out, and I cannot utter enough praises about Sew Sweetness patterns. They are not an affiliate, and I get zero/nada/zilcho by promoting this company. However, I am passionate about supporting small businesses, and I have had so much positive interactions with Sara and her team. I think she is very generous with her free patterns and tutorials, and it makes me want to support her even more by purchasing her popular "pattern bundles" every time she releases new ones. Check out Sew Sweetness and let me know what bags you have made from her patterns!
Completed Oslo Craft/Garden Bag in Outdoor fabrics
fabric pieces cut and labeled
Front Pockets with contrast banding
Exterior Side Pockets with velcro enclosure
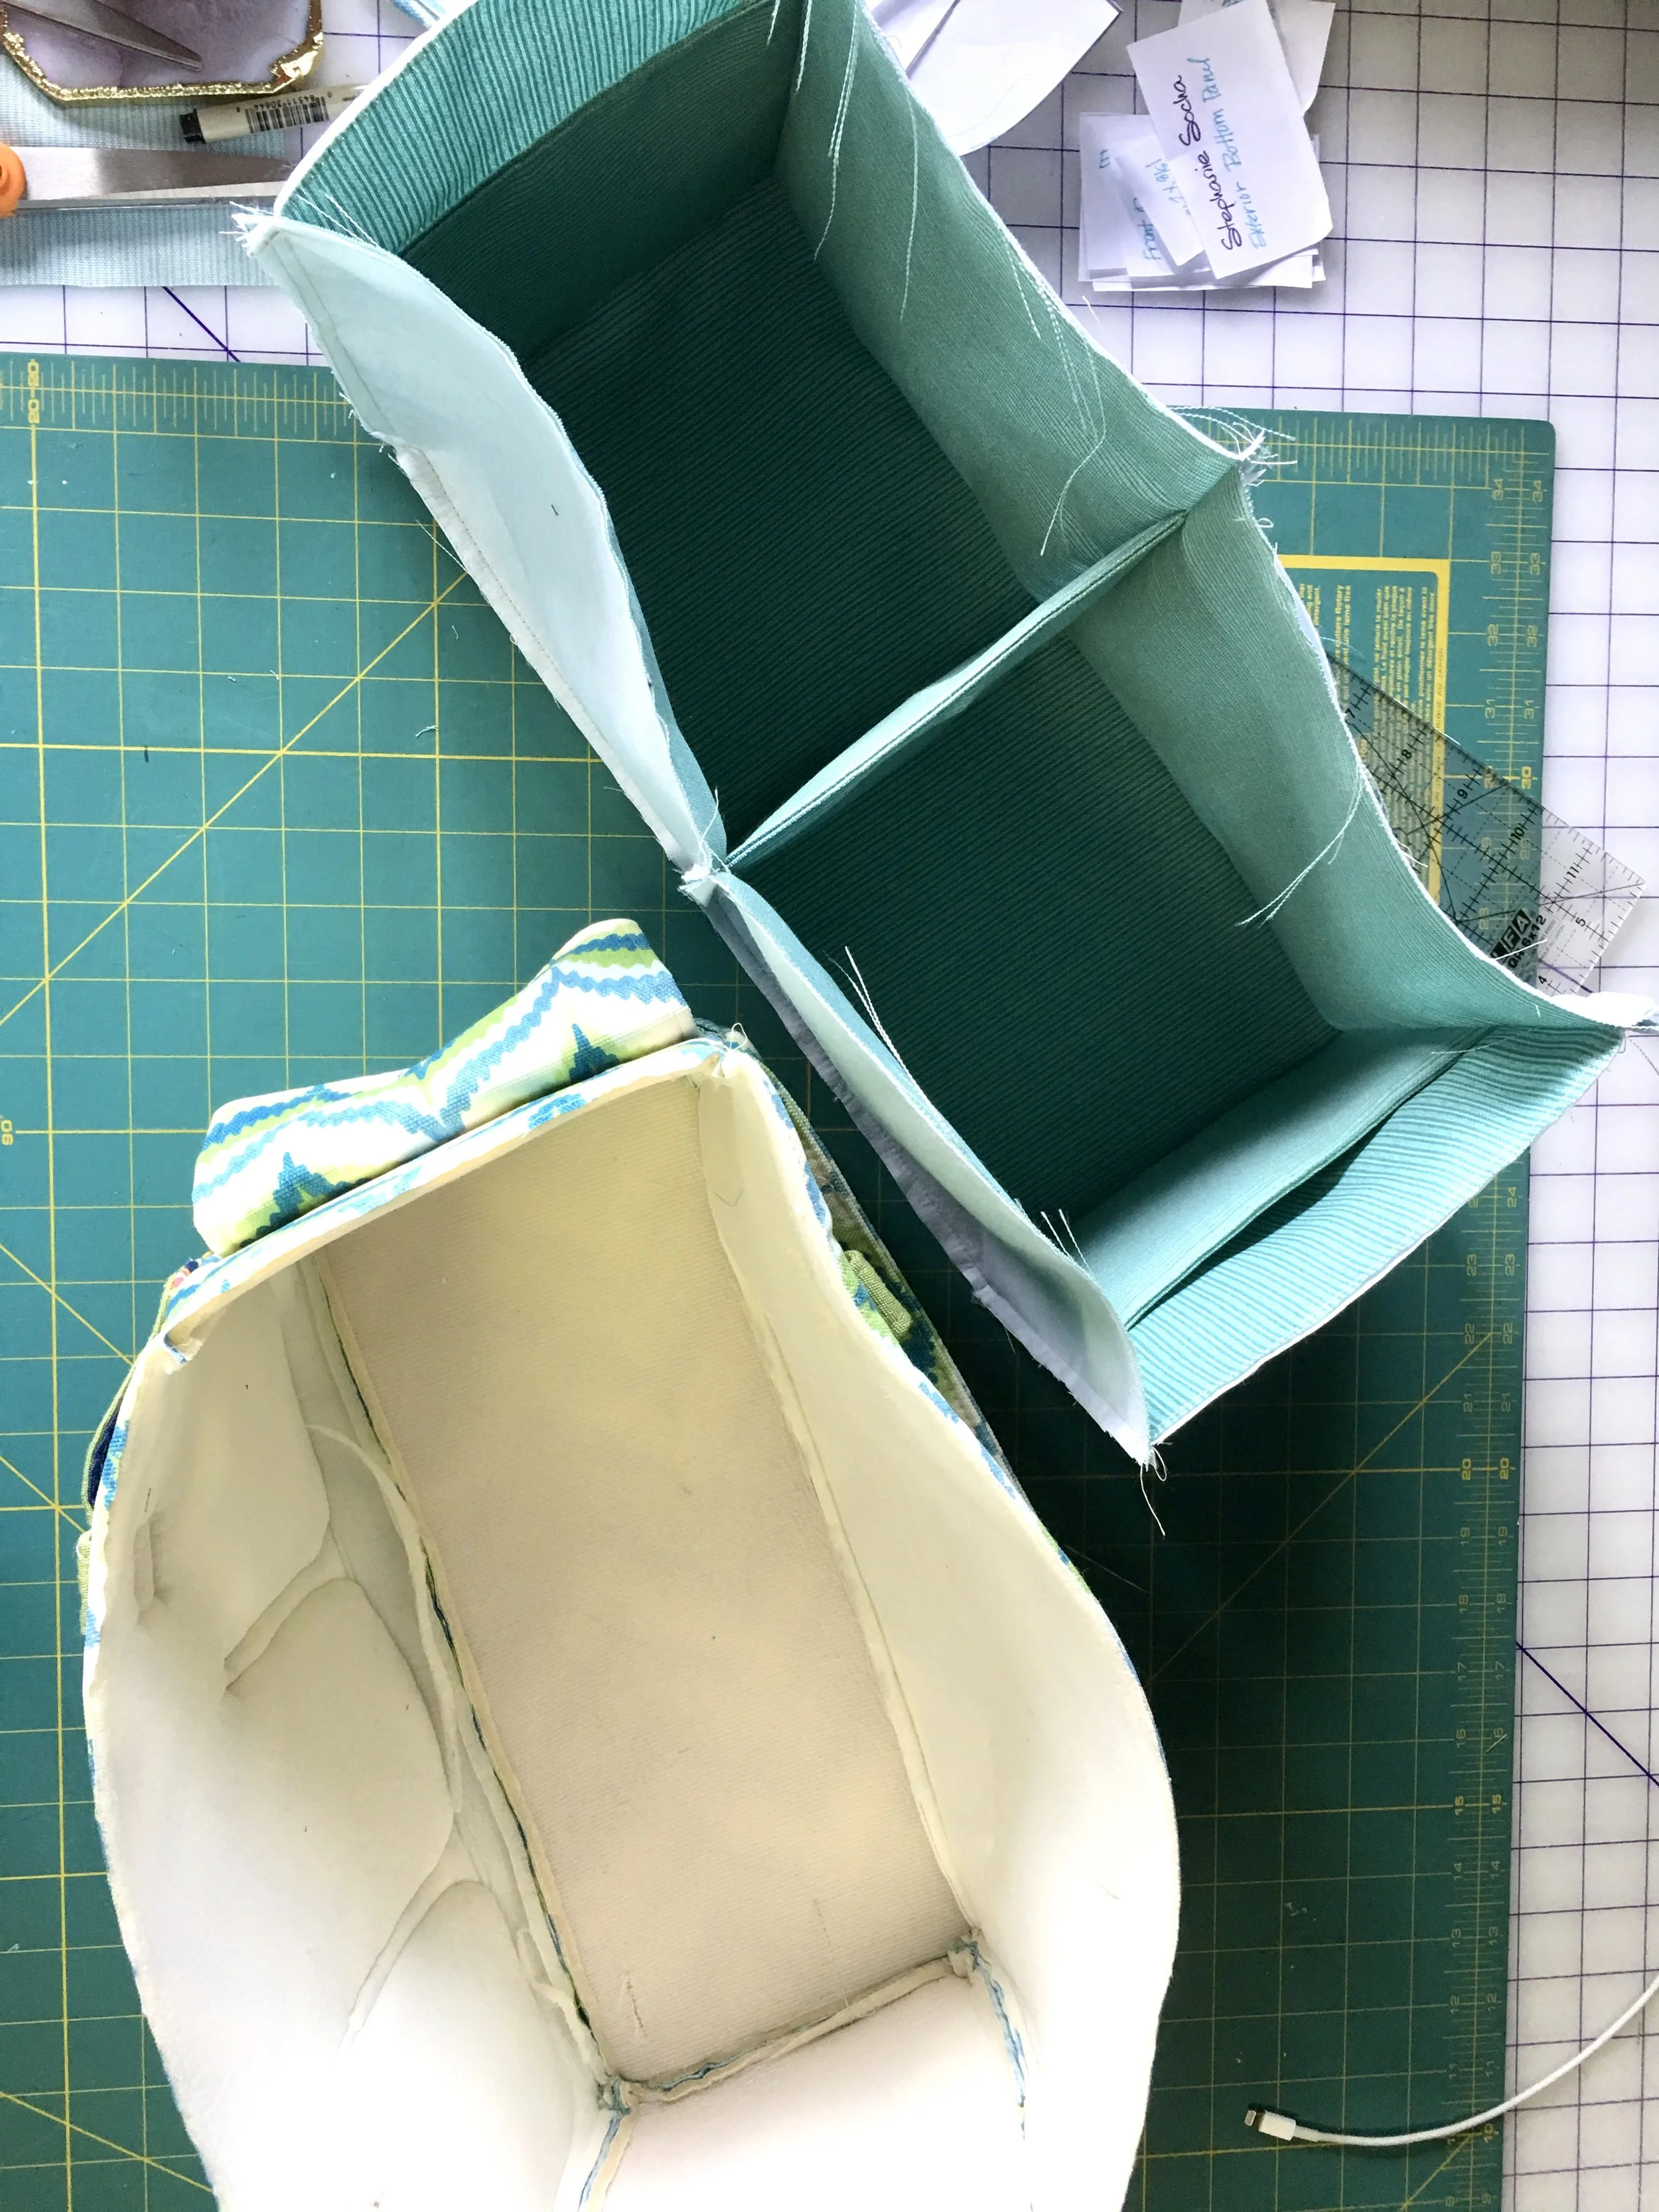
Lining and exterior ready to become one!
Interior connected to exterior with binding

